


The Steps Behind a Better Paint Finish
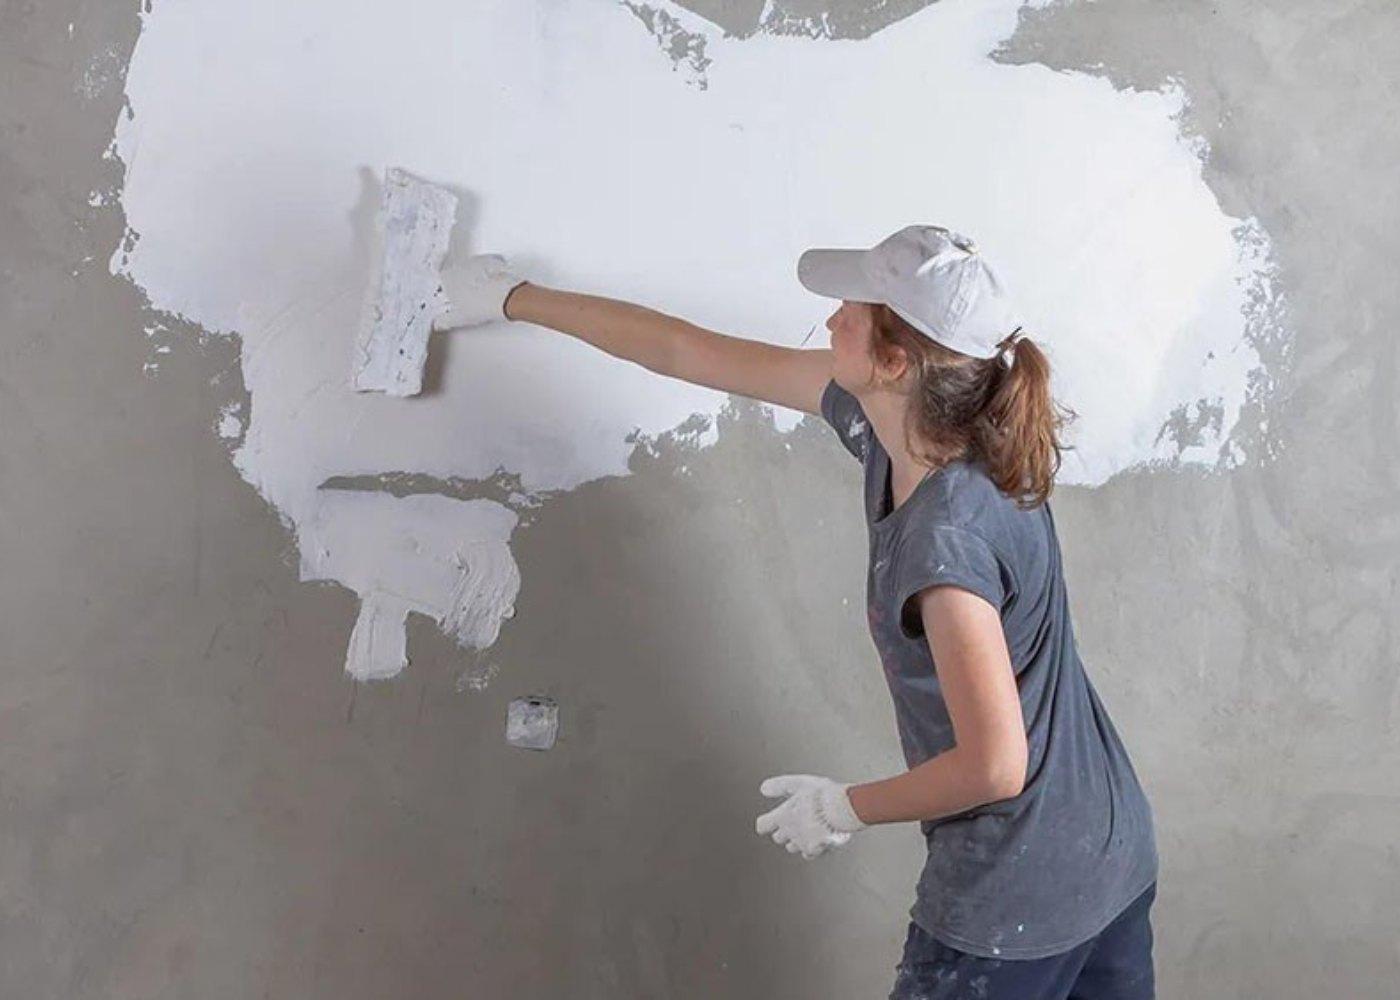
painting project can go surprisingly well until one small problem shows up after the final coat dries. Maybe a repaired area looks slightly different from the rest of the wall. Perhaps the paint isn't adhering properly in one section, or the surface has a different texture where primer was applied.
These problems don't always come from choosing the wrong color or buying an inexpensive product. Sometimes they come from small decisions made before or during application.
Understanding how paint and primer behave, and avoiding a few common mistakes, can make a noticeable difference in the finished surface.
Mistake #1: Assuming Every Surface Needs the Same Approach
A previously painted interior wall is not the same as bare drywall, raw wood, metal, or a glossy existing coating.
Each surface has different characteristics, including porosity, adhesion, texture, and previous coatings. Treating them all exactly the same can lead to inconsistent results.
Benjamin Moore's primer guidance identifies different primer categories for situations such as bare substrates, difficult surfaces, stains, and other specific preparation needs. (benjaminmoore.com)
Before choosing a primer or finish paint, identify what is actually underneath the existing coating.
That one step can prevent a lot of guesswork.
Mistake #2: Painting Over a Dirty Surface
It is easy to underestimate how much preparation matters.
Walls can collect dust, grease, fingerprints, smoke residue, and other contaminants over time. Kitchens and high-use areas can be particularly demanding.
Applying primer or paint over those contaminants doesn't give the coating a clean surface to bond with.
Benjamin Moore recommends cleaning surfaces and removing loose or flaking material before painting. (benjaminmoore.com)
The cleaning method should be appropriate for the surface and existing coating. Once the surface is clean, allow it to dry properly before continuing.
A few extra minutes of preparation can be much easier than correcting adhesion problems later.
Mistake #3: Treating Repairs as Invisible
A patched hole can look perfect before painting and still become noticeable afterward.
Why? The repair may have a different texture or absorb paint differently from the surrounding wall.
This is especially common when drywall compound or another patching material has been applied to a previously painted surface.
After repairing the area, smooth it appropriately and consider spot-priming where needed. Benjamin Moore's technical information recommends priming certain repaired areas to help create a more uniform surface before the finish coat.
Don't judge the repair only by how it looks before paint. Think about how the new coating will interact with it.
Mistake #4: Using Primer Without Knowing Its Purpose
Primer isn't simply a lighter version of paint.
Different primers are designed for different jobs. Some are intended to seal porous surfaces. Others focus on adhesion, stain blocking, hiding, or specific substrates.
The Paint Shops carries several primer products, including Benjamin Moore Fresh Start products and other primer options designed for different applications.
The useful question isn't:
“Do I need primer?”
It is:
“What does the surface need the primer to accomplish?”
If the answer is better adhesion, choose accordingly. If the problem is a stubborn stain, a stain-blocking product may make more sense. If you're dealing with a porous new surface, sealing may be the priority.
Choosing based on the actual problem is more useful than choosing based solely on the word “primer” on the label.
Mistake #5: Rushing the Recoat
Painting is one of those jobs where patience can be surprisingly important.
A primer or paint may feel dry to the touch before it has reached the appropriate stage for another coat. Recoat times vary by product and environmental conditions.
Benjamin Moore advises following the product's specified drying and recoat requirements rather than rushing through the process. (benjaminmoore.com)
Temperature, humidity, ventilation, film thickness, and the substrate can all influence drying.
If you're planning to finish a room in one day, read the product information beforehand and build your schedule around the actual recoat time.
Mistake #6: Adding More Paint Instead of Fixing the Problem
When coverage isn't looking right, the instinct is often to add another coat.
Sometimes that's exactly what the project needs.
Other times, another coat simply covers up the symptom without addressing the cause.
If one area is absorbing paint differently, has a stain underneath, or has poor adhesion, applying more finish paint may not solve the underlying issue.
A dedicated primer can sometimes address the problem more effectively than repeatedly adding finish coats.
This is particularly relevant when working over repaired, porous, stained, or difficult surfaces.
Mistake #7: Ignoring the Existing Sheen
Imagine painting over a glossy surface with a product that needs a suitable substrate for adhesion.
The new color may look great initially, but the coating's long-term performance can be affected if the surface wasn't prepared appropriately.
Glossy surfaces may require additional preparation or a bonding primer depending on the coating and substrate.
The Paint Shops offers products such as STIX Waterborne Bonding Primer for challenging surfaces where strong adhesion is needed. (thepaintshops.com)
Again, the important part is matching the product to the actual surface rather than assuming every wall can be treated identically.
Mistake #8: Changing Color Without Considering Coverage
A dramatic color change can require more planning than a simple repaint.
Moving from a very dark color to a light one, or from a strong saturated shade to a neutral, can make the existing color influence the appearance of the new coating.
A high-hiding primer can sometimes help establish a more uniform base before the finish coat.
Benjamin Moore offers high-hiding primer products specifically designed to help with significant color changes and difficult coverage situations.
However, don't automatically assume that every color change requires a separate primer. The existing surface, new color, product specifications, and desired result all matter.
Mistake #9: Forgetting to Test an Unfamiliar Surface
Some projects involve surfaces that you don't paint every day.
Cabinet materials, previously coated furniture, unusual trim, certain plastics, metal, or other nontraditional substrates can behave differently from ordinary drywall.
If you're uncertain about compatibility, testing a small area can be a sensible precaution.
Look for problems such as poor adhesion, unexpected texture, discoloration, or an unusual reaction between the existing coating and the new product.
It's much easier to discover a problem on a small test area than after covering an entire project.
Mistake #10: Treating Cleanup as an Afterthought
The project doesn't end when the final coat is applied.
Brushes, roller covers, frames, spray equipment, and other reusable tools should be cleaned according to the coating manufacturer's recommendations.
Benjamin Moore notes that cleanup procedures vary depending on whether the coating is waterborne or oil-based and recommends cleaning equipment promptly after use.
Leaving paint to dry on reusable equipment can turn a useful tool into a difficult cleanup job.
Proper cleanup also means you'll be ready for the next coat or project without fighting dried material.
A Better Way to Approach the Project
The easiest way to avoid most painting problems is to slow down before the first coat.
Inspect the surface. Clean it. Repair damaged areas. Determine whether the existing coating presents an adhesion problem. Choose primer based on the actual condition of the surface. Follow drying and recoat instructions. Then apply the finish coating according to the product's recommendations.
Not every project requires a complicated system.
Sometimes a properly prepared previously painted wall can go directly to a quality paint-and-primer product. Other projects genuinely benefit from a dedicated primer first.
The difference is understanding what the surface needs.
The Small Details Often Show Up at the End
A successful painting project isn't necessarily the one with the most products or the most coats. It's the one where each step has a purpose.
When working with paint and primer, pay attention to the condition of the surface, the existing coating, repairs, drying times, color changes, and application instructions. These details may not be as exciting as choosing the final color, but they can have a major effect on how that color looks once the project is finished.
Take care of the small things before they become visible problems. A clean surface, properly prepared repairs, an appropriate primer when needed, and enough time between coats can give the final finish a much better foundation.

 Arabic
 French
 Spanish
 Portuguese
 Deutsch
 Turkish
 Dutch
Dutch
 Italiano
 Russian
 Romaian
 Portuguese (Brazil)
 Greek
Greek