

Best React Native Course in Noida: A Beginner Project Roadmap From First Screen to Complete Mobile App
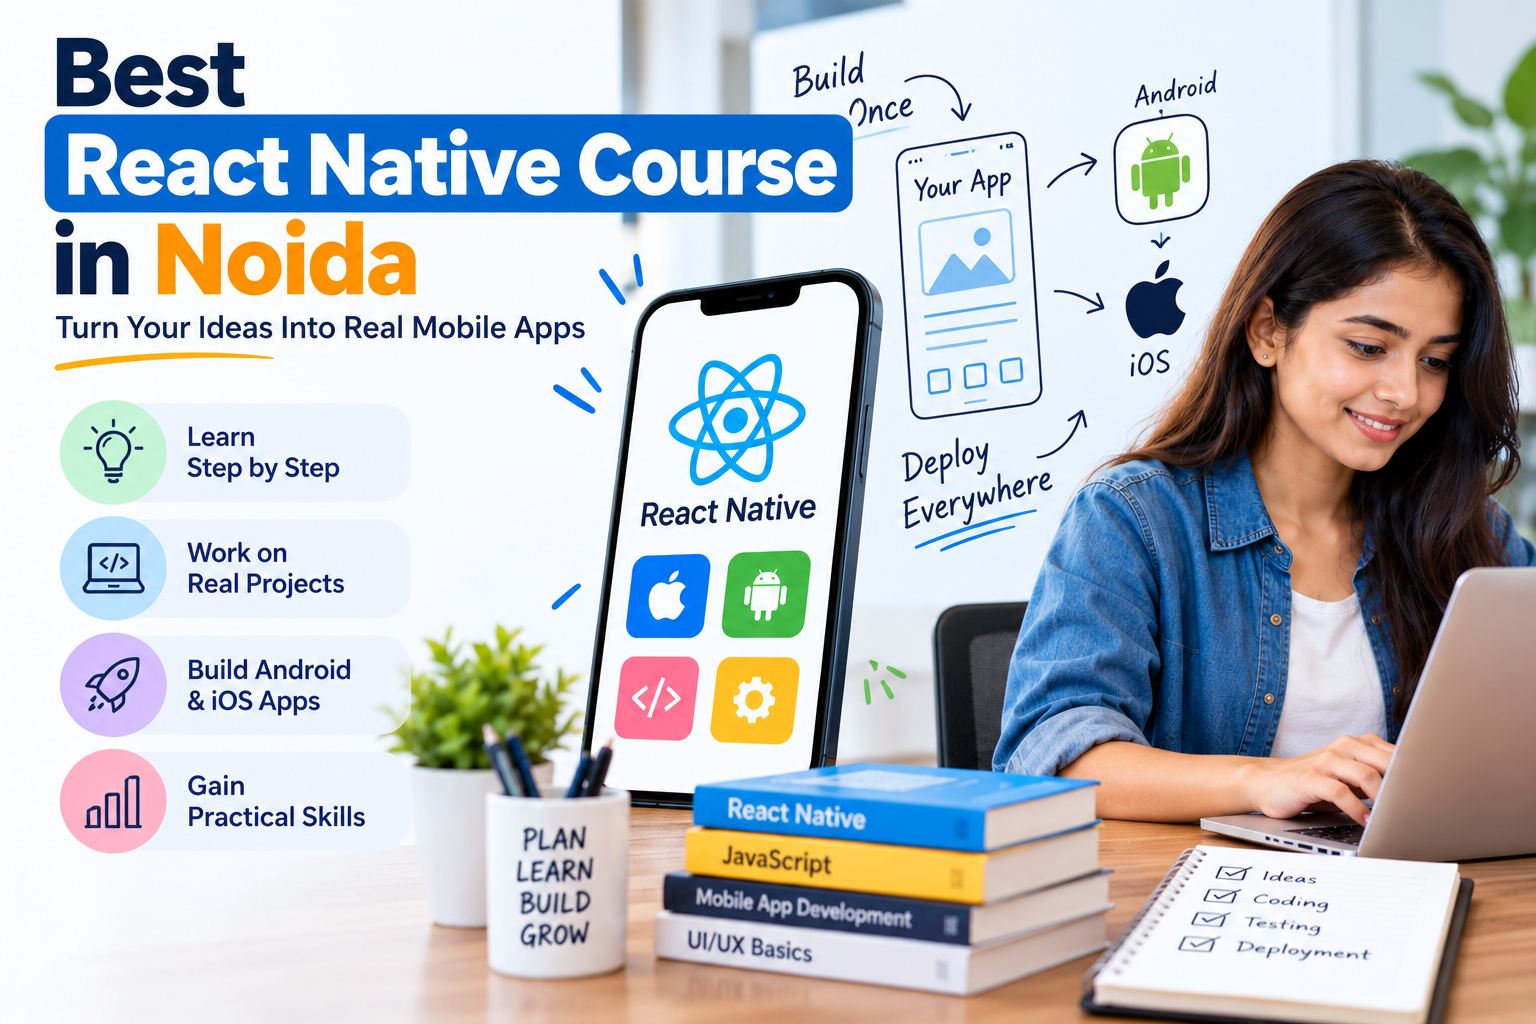
Learning React Native becomes much easier when beginners stop trying to understand everything at once.
Instead of beginning with a complicated shopping app or social media platform, it is better to build small projects and increase the difficulty gradually.
For someone exploring the Best React Native Course in Noida, a project roadmap can help connect JavaScript, React concepts, components, navigation, APIs, state management, testing and deployment in a practical order.
Here is a simple project-based learning path.
Project 1: Build a Basic Profile Screen
Your first project does not need APIs or databases.
Create one simple profile screen containing:
- profile image,
- name,
- email,
- short description,
- buttons,
- and basic layout.
This project helps you practise:
- React Native setup,
- View,
- Text,
- Image,
- styling,
- spacing,
- and layout.
The purpose is to become comfortable creating a mobile screen.
Do not worry about advanced logic yet.
What you should understand after this project
You should be able to answer:
How is a React Native screen created?
How do I position content?
How do I style text, buttons and images?
Once these basics are clear, move to the next project.
Project 2: Create a To-Do App
A To-Do app is one of the best beginner projects because it introduces interaction.
Basic features can include:
- add task,
- display task,
- mark task complete,
- delete task.
Now you start working with changing data.
For example:
User enters task
      ↓
Presses Add
      ↓
Task added to state
      ↓
List updates
This project helps you practise:
- components,
- props,
- state,
- user input,
- lists,
- button events.
The current Next2Help course page includes components, props and state among its React Native learning topics. Next2Help
Project 3: Build a Multi-Screen App
Once one-screen apps become comfortable, build something with multiple screens.
A simple structure could be:
Home
 ↓
Categories
 ↓
Details
 ↓
Profile
This project introduces navigation.
You learn how users move from one screen to another.
For example:
Home Screen
   ↓
User taps item
   ↓
Details Screen
You can also practise sending information between screens.
For example:
Selected Product
      ↓
Navigation
      ↓
Product Details
Navigation and routing are included in the current Next2Help React Native syllabus. Next2Help
Project 4: Build a Weather App
Now you are ready to work with external data.
A weather app is a useful beginner API project.
The user may enter:
NoidaThe application sends a request to a weather API.
The workflow becomes:
User Input
    ↓
API Request
    ↓
JSON Response
    ↓
State
    ↓
Weather Screen
The screen can show:
- city,
- temperature,
- weather condition,
- humidity,
- or another available field.
This project teaches:
- API requests,
- JSON,
- loading states,
- errors,
- dynamic UI.
API integration and data management are part of Next2Help's current React Native curriculum. Next2Help
Project 5: Create a Product Catalogue
Now combine several concepts.
A simple product app may include:
Product List
Displays several products.
Product Details
Shows more information.
Search
Filters products.
Favourite Button
Allows users to save an item.
A possible flow is:
API
 ↓
Product List
 ↓
Product Card
 ↓
Product Details
 ↓
Favourite
This project helps you practise:
- reusable components,
- props,
- navigation,
- APIs,
- state,
- lists,
- conditional rendering.
At this stage, your project begins to feel more like a real mobile application.
Project 6: Build an Expense Tracker
An expense tracker helps beginners practise forms and calculations.
Features might include:
- add expense,
- amount,
- category,
- date,
- expense list,
- total amount.
For example:
Expense Form
     ↓
Save Expense
     ↓
Update State
     ↓
Expense List
     ↓
Calculate Total
Later you can add:
- edit,
- delete,
- category filters,
- monthly totals.
This project strengthens your understanding of application logic.
Project 7: Add Shared State
As projects become larger, several screens may need the same information.
For example, imagine a shopping app.
The user adds a product on:
Product DetailsBut the information must also appear in:
Cart
Checkout
Header Counter
This is where shared state becomes useful.
You may start learning:
- Context API,
- Redux.
The current Next2Help course syllabus includes both Redux and Context API for application state management. Next2Help
A simplified flow is:
Add Product
    ↓
Shared State
  ↙   ↓   ↘
Cart Header Checkout
This helps you understand why state management becomes important in larger applications.
Project 8: Build a Booking App
A booking app can combine many skills.
Possible features:
- login,
- service list,
- select date,
- select time,
- submit booking,
- booking confirmation,
- booking history.
The development flow may look like:
Login
 ↓
Home
 ↓
Services
 ↓
Booking Form
 ↓
API
 ↓
Confirmation
This project can include:
- navigation,
- forms,
- validation,
- APIs,
- state,
- error handling,
- reusable components.
It is a useful step toward more realistic app development.
Project 9: Add Testing and Debugging
Do not wait until a huge project is finished before learning debugging.
For every feature, test:
Normal case
Does it work when everything is correct?
Empty input
What happens if the user leaves a field blank?
Wrong data
What happens with invalid input?
API failure
What happens if the server does not respond?
Slow internet
What does the user see while waiting?
A developer should test both:
SUCCESSand:
FAILURETesting and debugging are part of the current Next2Help React Native course structure. Next2Help
Project 10: Improve Performance
Once your app works, look at how it behaves.
Ask:
- Is the list slow?
- Are unnecessary components rendering again?
- Are images too heavy?
- Is too much data loaded at once?
- Does navigation feel smooth?
Beginners do not need advanced optimization immediately.
But learning to observe performance is useful.
The current Next2Help syllabus includes React Native performance optimization. Next2Help
Project 11: Prepare an App for Deployment
A project feels much more complete when you understand what happens after coding.
The journey becomes:
Plan
 ↓
Build
 ↓
Test
 ↓
Debug
 ↓
Improve
 ↓
Prepare Build
 ↓
Deploy
The current Next2Help course page includes deployment concepts for Google Play and Apple's App Store. Next2Help
Deployment helps beginners understand that mobile development does not end when the app works on their own device.
A Simple React Native Project Progression
You can follow this order:
| Stage | Project | Main Skill |
|---|---|---|
| 1 | Profile Screen | UI basics |
| 2 | To-Do App | State |
| 3 | Multi-Screen App | Navigation |
| 4 | Weather App | APIs |
| 5 | Product Catalogue | Components + data |
| 6 | Expense Tracker | Forms + logic |
| 7 | Shopping App | Shared state |
| 8 | Booking App | Complete workflow |
| 9 | Testing | Debugging |
| 10 | Optimization | Performance |
| 11 | Deployment | Release process |
You do not need to build all of these immediately.
Move to the next project when the current one makes sense.
Do Not Copy Every Project Exactly
Tutorials can help at the beginning.
But after following one, change something yourself.
For example, if you build a weather app, add:
- favourite cities,
- search history,
- different weather icons.
If you build a To-Do app, add:
- categories,
- priority,
- due dates,
- filters.
If you build an expense tracker, add:
- monthly summary,
- category totals,
- search.
Changing the project forces you to think.
That is where practical learning begins.
Keep Every Finished Project
Create a small project record.
For each app, write:
Project Name
Weather App
Technologies
React Native, JavaScript, REST API
Features
- City search
- Weather API
- Loading state
- Error handling
What You Learned
- API requests
- JSON
- state
- conditional rendering
Over time, this creates a clear record of your progress.
Build Small Before Building Big
Many beginners want their first app to include:
- login,
- payment,
- live chat,
- maps,
- notifications,
- dashboards,
- advanced animations.
That usually creates confusion.
Instead, begin with:
One Screen
 ↓
Two Screens
 ↓
Simple State
 ↓
Navigation
 ↓
API
 ↓
Shared State
 ↓
Complete Small App
This keeps learning manageable.
What to Look for in the Best React Native Course in Noida
When comparing a Best React Native Course in Noida, look for a course that helps you progress from fundamentals into practical application building.
Useful learning areas include:
- JavaScript,
- React concepts,
- React Native fundamentals,
- components,
- props,
- state,
- UI development,
- navigation,
- Redux,
- Context API,
- API integration,
- testing,
- debugging,
- performance optimization,
- and deployment.
Next2Help's current course page covers these areas and describes hands-on mobile-app projects as part of its learning approach. Next2Help
Final Thoughts
React Native becomes easier when learning follows a project sequence.
Do not start by trying to build the most complicated application.
Start with:
UI
Then add:
State
Then:
Navigation
Then:
APIs
Then:
Shared State
Then:
Testing and Deployment
Every project should introduce a new challenge without making the entire learning process overwhelming.
A good beginner goal is not:
“I know every React Native feature.”
A better goal is:
“I can take a small app idea, build it, test it, fix it and complete it.”

 English
 Arabic
 French
 Spanish
 Portuguese
 Deutsch
 Turkish
 Dutch
Dutch
 Italiano
 Russian
 Portuguese (Brazil)
 Greek
Greek