


TradingView Alerts Setup for Indicators: How to Trigger Alerts From Buy and Sell Signals
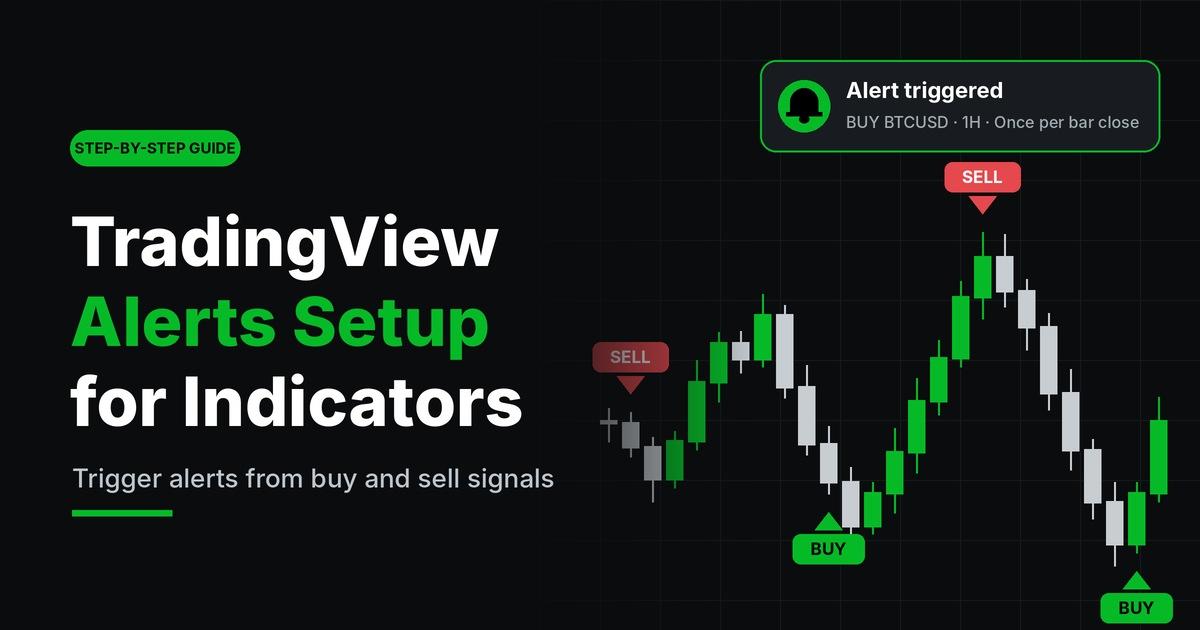
Most traders do not lose money because they lack signals. Instead, they lose money because they miss them. A clean buy signal that prints at 3 a.m. is worthless if nobody is watching the chart.
That is exactly why a proper TradingView alerts setup matters. Once alerts are configured correctly, your indicator watches the market for you. As a result, you only step in when a real buy or sell condition appears.
In this guide, you will learn how indicator alerts actually work behind the scenes. Next, you will walk through each setup step in order. Finally, you will see the mistakes that cause missed alerts, duplicate alerts, and signals that vanish after they fire.
What Are TradingView Indicator Alerts?
TradingView indicator alerts are server-side notifications that fire when an indicator meets a defined condition. Because they run on TradingView's servers, they keep working even when your browser, laptop, or phone is switched off.
There are two main ways an indicator can trigger an alert. The first is a price-based condition, such as price crossing a moving average or an RSI line moving above 70. The second is a signal built into the script itself, which is usually how buy and sell labels are handled.
How Buy and Sell Signals Become Alerts
In Pine Script, a developer can expose signals to the alert system in two ways:
- alertcondition(): This creates a named option, such as "Buy Signal" or "Sell Signal", inside the alert dialog. You pick it from a dropdown, much like any built-in condition.
- alert() function calls: This lets the script send its own alert message whenever a signal prints. In the dialog, it appears as "Any alert() function call".
In other words, an indicator can only send buy and sell alerts if its code was written to support them. If neither option appears in the dropdown, the script was not built with alerts in mind. In that case, you can still alert on its plotted lines, but not on its signal labels.
It is also worth knowing that an alert takes a snapshot of the indicator at the moment it is created. So, if you later change the indicator's inputs on your chart, the existing alert will not update. Instead, it keeps running with the old settings until you delete it and create a new one.
Before You Start: Prepare Your Chart
A reliable TradingView alerts setup begins before you open the alert dialog. Experienced traders treat this step as a quick pre-flight check, because most alert errors start here.
First, open the exact symbol you want to monitor. Alerts are tied to one symbol, so an alert built on BTCUSD will not fire for ETHUSD.
Second, select the timeframe you actually trade. A buy signal on the 15-minute chart is a different event from a buy signal on the 4-hour chart. Therefore, the alert must be created while the chart shows the correct interval.
Third, add the indicator and finalize its settings. Adjust sensitivity, periods, and filters now, since the alert will copy these values. After that, avoid tweaking the inputs unless you plan to rebuild the alert.
Finally, check your plan's alert limits. Each TradingView plan allows a set number of active alerts, and some features, such as webhooks, are only available on paid tiers.
How to Set Up TradingView Alerts From Buy and Sell Signals
Now that the chart is ready, here is how to set up TradingView alerts step by step. The process takes about two minutes per alert once you are familiar with it.
Step 1: Open the Alert Dialog
Click the Alert button (the clock icon) in the top toolbar. Alternatively, press Alt + A on Windows or Option + A on Mac. You can also right-click anywhere on the chart and choose "Add alert".
Step 2: Choose the Indicator as the Condition
In the Condition field, the first dropdown shows the symbol's price by default. Click it and select your indicator from the list instead.
A second dropdown will then appear. This is where the indicator's alert options are listed, such as "Buy Signal", "Sell Signal", or "Any alert() function call".
Step 3: Select the Buy or Sell Condition
Pick the specific signal you want to track. For example, choose "Buy Signal" for long entries. Then, repeat the whole process to create a separate alert for "Sell Signal".
Keeping buy and sell alerts separate is a habit worth building. It makes your notifications easier to read, and it lets you pause one side without affecting the other.
Step 4: Set the Trigger Frequency
Next, choose how often the alert can fire. The usual options are Only once, Once per bar, Once per bar close, and Once per minute. This choice is so important that it gets its own section below.
Step 5: Set the Expiration
By default, many alerts come with an expiry date. If you want the alert to keep running, extend the date or choose the open-ended option where your plan allows it. Otherwise, the alert will quietly stop, and you may not notice for days.
Step 6: Name the Alert and Write the Message
Give the alert a clear name, such as "BTC 1H Buy". Then, write a short message that tells you what to do when it fires.
TradingView supports placeholders that fill in live values automatically. For instance, {{ticker}}, {{interval}}, {{close}}, and {{time}} insert the symbol, timeframe, price, and bar time. A message like "BUY {{ticker}} on {{interval}} at {{close}}" is short, clear, and useful.
Step 7: Choose Notifications and Create
Open the Notifications tab and select how you want to be alerted. After that, click Create. The alert will now appear in the Alerts panel on the right side of the screen, where it can be paused, edited, or deleted.
Choosing the Right Trigger: Once Per Bar vs Once Per Bar Close
The trigger setting decides whether your alert is helpful or misleading. Yet it is the option most beginners skip.
Once per bar fires the first time the condition becomes true during a live candle. It is fast, which is appealing. However, the candle has not closed yet, so the signal can disappear before the bar ends.
Once per bar close waits until the candle closes and only fires if the signal is still valid. It is slightly slower. On the other hand, it is far more reliable, because a closed bar cannot change.
Only once fires a single time and then stops. This suits one-off events, such as a breakout you only want to know about once. Meanwhile, Once per minute can fire repeatedly while a condition stays true, which often leads to notification overload.
Why Signals Seem to Vanish
Many traders report that an alert fired, yet no signal appeared on the chart afterwards. In most cases, this is not a bug. Rather, the signal formed mid-candle, the alert fired, and then price moved and the condition was no longer met at the close.
For buy and sell signals, Once per bar close is generally the safest choice. It trades a little speed for a lot of accuracy, and that is usually a good deal.
Notification Options for TradingView Indicator Alerts
An alert is only useful if it reaches you in time. Fortunately, TradingView indicator alerts can be delivered through several channels at once:
- App notifications: Push alerts to the TradingView mobile app. This is the most popular option for traders on the move.
- Pop-up and sound: On-screen alerts with an audio cue, which work well when you sit at your desk.
- Email: A written record of every signal, which is handy for reviewing trades later.
- Webhook URL: Sends the alert message to an external service, such as a trading bot or a messaging tool. This feature requires a paid plan and two-factor authentication.
In practice, most traders combine app notifications with email. That way, they get the speed of a push alert and a searchable history of past signals.
If you use webhooks, keep the message format consistent. Bots and automation tools usually expect structured text, often JSON. As a result, a small typo in the message can cause an order to fail silently.
Common TradingView Alerts Setup Mistakes to Avoid
Even experienced chart users make small errors that break an otherwise solid TradingView alerts setup. Here are the ones that come up most often.
1. Editing the indicator after creating the alert. As mentioned earlier, the alert keeps its original settings. So, if you change a length or filter, delete the old alert and create a fresh one.
2. Creating the alert on the wrong timeframe. It is easy to set an alert while viewing the 5-minute chart and then assume it covers the 1-hour chart. It does not. Always confirm the interval shown at the top of the chart first.
3. Using "Once per bar" for signal-based entries. This setting often produces alerts for signals that never confirm. Consequently, traders lose trust in the indicator, even though the real issue is the trigger choice.
4. Letting alerts expire. An expired alert does not send a warning by default. Therefore, check the Alerts panel once a week and renew anything that is close to its end date.
5. Writing vague messages. A message that simply says "Alert" forces you to open the chart to find out what happened. By contrast, a message with the ticker, direction, and timeframe lets you decide in seconds.
Best Practices From Years of Chart Work
Beyond avoiding mistakes, a few habits make alerts far more dependable over time:
- Create one alert per symbol, timeframe, and direction. This keeps everything easy to manage.
- Test new alerts on a liquid market and a short timeframe first, so you can see them fire within a few hours.
- Treat an alert as a prompt to review the chart, not as an automatic order. Context, such as news events and key levels, still matters.
- Review your alert list monthly and remove anything you no longer trade.
Above all, remember that an alert is only as good as the signal behind it. Learning how to set up TradingView alerts properly protects you from missed moves. Still, it cannot make a weak strategy strong, so backtesting and risk management remain essential.
Final Thoughts
A careful TradingView alerts setup turns your indicator into a round-the-clock assistant. To recap, prepare the chart first, select the exact buy or sell condition, and use "Once per bar close" for confirmed signals. In addition, write clear messages, pick the right notification channels, and rebuild alerts whenever you change indicator settings.
Mastering how to set up TradingView alerts is a skill that pays off across every market and timeframe. Moreover, the same principles apply whether you use a built-in study or a custom script.
When you evaluate any third-party script, it helps to check whether it supports native alert conditions, how its signals behave on bar close, and whether results can be verified on historical charts. For example, traders who search "is GainzAlgo legit" before adding the GainzAlgo indicator are asking the right kind of question. The best answer comes from testing its buy and sell alerts on a demo chart, reviewing past signals, and judging the results against your own trading plan.

 English
 Arabic
 French
 Spanish
 Portuguese
 Deutsch
 Turkish
 Dutch
 Italiano
 Romaian
 Portuguese (Brazil)
 Greek